Water is essential to survival, even more so than food. Even in the best of conditions, you probably won’t last more than 10 days without access to clean, drinking water, but you might be able to survive for four to six weeks without food. At the same time, it is important to either purify, filter, or sterilize your water before drinking it. While dehydration is a valid cause for concern, drinking unclean or contaminated water might just be worse, as this may expose you to waterborne bacteria or parasites. SHTF will really happen if this causes you to develop diarrhea, as you will lose even more of what little water you have left in your body. Secure your own supply of clean water by making your own DIY water filter. (h/t to MDCreekMore.com)
Before making your own homemade water filter, you should first be familiar with the proper terminology. Most people, including preppers, tend to use the words filtration, purification, and sterilization interchangeably. While there is some overlap between these terms when it comes to how many commercial filter units operate, these terms do not all mean the same thing.
Filtration involves the removal of solid matter and some emulsified liquids. Purification involves the removal of non-water substances, such as those in emulsions or solutions. Sterilization involves the elimination of harmful microbes. Some filter units may even include layers of activated charcoal to filter out solid matter and remove heavy metals. Also known as activated carbon, activated charcoal utilizes chemical adsorption to remove contaminants and impurities.
Sponsored solution from CWC Labs: This heavy metals test kit allows you to test almost anything for 20+ heavy metals and nutritive minerals, including lead, mercury, arsenic, cadmium, aluminum and more. You can test your own hair, vitamins, well water, garden soil, superfoods, pet hair, beverages and other samples (no blood or urine). ISO accredited laboratory using ICP-MS (mass spec) analysis with parts per billion sensitivity. Learn more here.
How to build your own DIY water filter
Building your own homemade water filter is much more cost-efficient than buying a completely new one. A DIY water filter also allows you more freedom to customize your filter to better suit your personal needs and preferences. The process is so simple that it will only take you around 20 minutes to build your own water filter.
Items needed:
- 2 Black Berkey purification elements (or any other purification elements of your brand of choice)
- rubber washers
- wingnut fasteners
- 2 5-gallon food-grade buckets with lids
- food-grade spigot (preferably the size used for large water coolers)
- drill with 1/2- and 3/4-inch drill bits
Procedure:
- Take one of your food-grade buckets and drill two holes at the bottom using your drill and the 1/2-inch drill bit. These holes should be around four to six inches apart.
- Take the lid of that bucket and drill two holes through it using the drill and the 1/2-inch drill bit. Make sure these holes match up perfectly with the holes at the bottom of your bucket.
- Take the second bucket and measure a spot around two inches from the bottom on one side of the bucket. This will serve as the hole for your spigot, so make it so it doesn’t touch the bottom to avoid damage.
- Once you’ve found the right spot, drill a hole through the side of the second bucket using your 3/4-inch drill bit.
- Install your purification elements through the 1/2-inch holes that you drilled at the bottom of the first bucket.
- Carefully secure your purification elements using your rubber washers and wingnut fasteners. Make sure that you do not overtighten the nuts as this could damage your purification element and cause it to leak.
- To assemble your water filter, first take the bucket with the spigot. This will serve as your base.
- Next, place the lid 1/2-inch holes on top of the bucket with the spigot.
- On top of the lid, place the bucket with purification elements installed. Keep the holes aligned so that the tubes of the purification elements extend through the lid below it and into the lower bucket with the spigot.
- Pour water into the upper bucket. This water should drip down through the purification elements and collect in the lower bucket.
- Cover the upper bucket with the remaining lid.
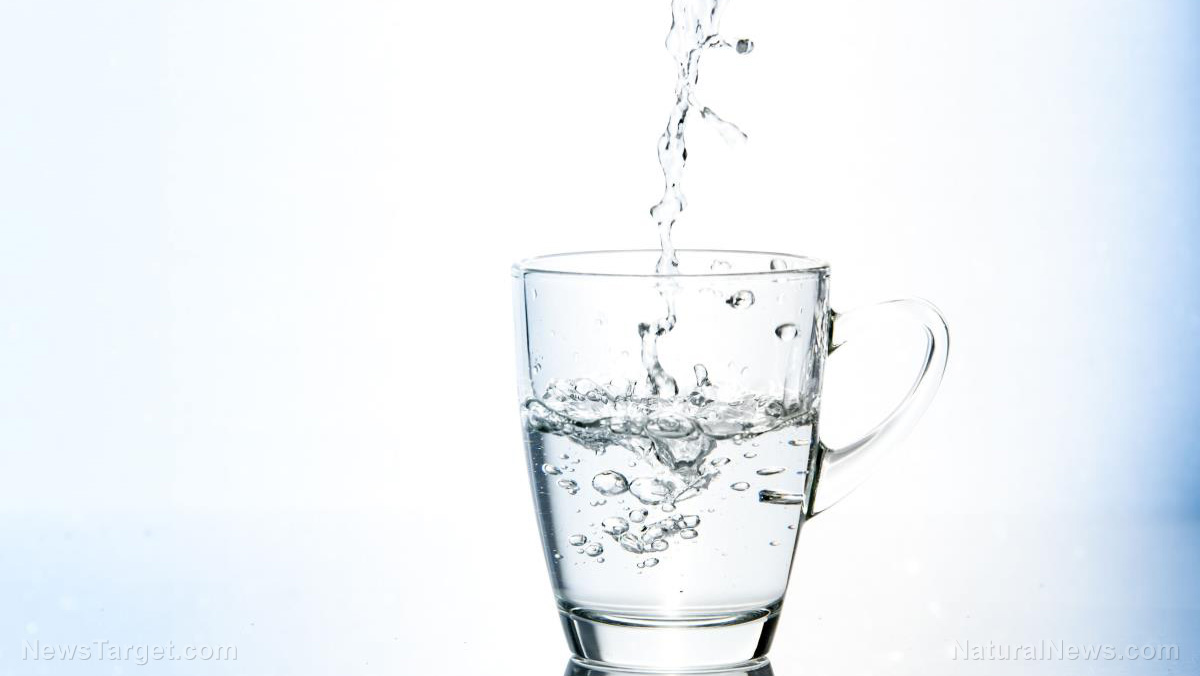
- Whenever you feel thirsty, simply turn the spigot on and fill a glass with your clean, drinking water.
Learn other ways to secure your supply of clean water by going to CleanWater.news.
Sources include:

